Tuesday 14 May 2019

Bending the deck beams

The deck of a setka is supposed to be slightly curved so the 5 beams supporting it must be curved. I could probably have cut out the slightly curved beams from solid boards like many others have done but since I wanted to play with other building methods I chose to laminate them on a template. I ripped 8-9mm thick strips with a circular saw and prepared the surfaces for gluing (planed and sanded with 80 grit):


For the template I used the leftovers from cutting the transom beam, below a picture from a trial run to see how rigid the template needs to be to give me the correct shape. The beams consist of 6 to 7 strips (7 strips for the beams that are part of a frame, 6 for the ones that are in between) which makes sure there is not too much springback after gluing (which btw is accounted for in the shape of the template). The amount of springback is approx. S/N^2 with S the sagitta of the arc and N number of laminations. The formula works well enough it seems, the shapes came out perfect.


Gluing the whole thing together with slightly thickened epoxy (and not too much clamping pressure to keep the epoxy inside the joint):


The resulting beams look quite nice:


Still a couple more to go, will make them as they become needed when plating the deck.

Sunday 5 May 2019

Dealing with the cold and the humidity in an unheated workshop

I wanted to do as much as possible during the winter - I started in the fall and hoped to have the hull ready for planking and sheathing in the spring - alas, life got in the way, but I did manage to make at least a couple of frames.
On really cold and wet days I could do nothing, but when it was not too cold I could do some gluing in an impromptu heat box equipped with an electric heater:


I would mix the glue at home, pre-heat the to be glued elements and leave the glued assembly in the heat box overnight until the epoxy kicked in and the frame shape would be fixed. The rest of the elements would be all ready and waiting at home for the rest of the gluing and some days of room temperature post-curing.

In retrospect I wish I had 2 sets of plans printed on paper: one for the lofting table in the tent, one on the floor at home - then no heat box would be needed, I could have done all the gluing at home.

Another problem was the moisture creeping in through the floor: the tent just covers some bare ground and one side of the tent the floor would often get wet; the relative humidity was over 80% on average. I covered the ground with a plastic sheet, that brought the humidity levels down to around 30%. Good enough:


Lessons learned? Plenty, i'm sure. But mostly: don't build boats in unheated spaces during the winter.

The stern-side frames

Here's how the cockpit frames were built, designated A and B in the plans, A supporting the cockpit, B terminating it with the companionway. It was already November or December, so it was starting to get a bit cold. Frames were assembled with the gussets on one side in the workshop, cured overnight (in a "heatbox", more on that in a different post), then post cured at home. The other side of the frames (gussets and/or bulkheads) were glued at home from elements prepared in the cold workshop. No cutting and sanding at home!

Let's start with B. The top is curved, cut from a single board that happened to be the correct shape. Frame B is tilted by 60deg so the sides need to be curved to comply with the shape of the hull, the height of the arc is just about 3mm, so not very well visible in the pictures.


After the initial glue-up of the frames and gussets it needs to post-cure at home under guard:


Frame A, directly under the cockpit.


The space behind the couch looked like this all winter, making the home smell of freshly cut spruce...

On the choice of tools and materials

I live in a very rural area of France with the closest large (french) town far far away. Of course there is the neighbouring city of Geneva (Switzerland) where some goods and services can be found, but all of that comes at Swiss prices... For the right price anything can be ordered and delivered anywhere of course, but this is not the point of this exercise: this boat is supposed to be cheaply and easily built. Relatively speaking of course, it still is a boat.

Materials needed: water resistant (or -proof) plywood for the skin, wood for the frames, stainless fasteners, epoxy, glass fibre cloth (or at least tape for hull joints) and some deck and rigging related hardware.
I tried to find the best components at best possible prices, but soon I realised I will have to make compromises and deviations from the design specified materials.
  • Wood
The design calls for pine wood for frames - no such beast here, we have mostly white spruce and some fir growing in the mountains, a bit softer and much lighter wood. The local sawmill does not make a distinction between these species, so I buy whatever I can get - mostly spruce. I do get to rummage through their large cache, so I can select the nicest, driest, straight grained and knot free planks. Which btw. is not an easy task and "some knots" in the end I did learn to live with. Of course it is very roughly sawn lumber which I need to turn into planks and such.
Btw. according to e.g. the Gougeon brothers spruce is not half bad and has been successfully used in boat and airplane construction. With some caveats related to e.g. it's lower rot resistance which i'm not really worried about since it's going to be a dry hull, completely encapsulated in a glass-epoxy laminate.
Anyway - the Designer advised to make the frames 2-3mm thicker in case of fir. In the end I'm using mostly spruce and I increased the dimensions by ~5mm for all the frames except the largest ones (cabin frames) which are unsupported by bulkheads, and the deck beams. Those are a full 1 cm thicker (~20% more than specified). I'm also counting on the fact that the wood i'm using is knot-free (where it matters) which should give me an advantage as well. The other builds of the setka that i've seen on other blogs tend to have a lot of knots in the pine framing.
  • Plywood
Marine grade is expensive. The design luckily only specifies a minimum density of something like 4.8kg/m^2 (for 10mm plywood), but still, it would be nice to have decent plywood.
Luckily I did find some semi-local supplier that had enough 10mm Joubert exterior grade plywood for the hull and could order some 8mm Garnica for the deck. That is all poplar cored, okume faced exterior grade with pretty decent specs and correct weight.
The Joubert is very nice, no voids at all it looks like. The Garnica is a bit worse, but acceptable in that respect. Does faintly smell of urea though, the glue is not as good as in the Joubert.
Here's how my stockpile looks like, lying flat on the strongback held together by some clamps to prevent warping caused by the local crazy jumps in humidity.


  • Epoxy
For the frames I managed to get 5kg of the Polish Epidian 5 resin with the PAC hardener. It is very cheap and reportedly a quality adhesive, but very tough to work with. This stuff is similar to WS G/flex, color and consistency wise, is also supposed to be flexible like g/flex. It indeed is not so brittle as some other resins I have used and gets more flexible the more hardener is added. The problem with this stuff is that it is very thick, so it needs to be heated in a water bath before use. Quite annoying and it would be very hard to saturate glass fibre with something this thick so i'm probably going to order another resin for sheathing the hull. Maybe 105, or the Polish 6011 if I can get my hands on some and want to go on the cheap.
It helps to put it in e.g. dish washer containers for easier mixing, otherwise it gets very messy:


  • Tools
Not much is needed i found:
a circular saw for ripping the lumber and a simple power planer for thicknessing.


A simple jig for planing to a consistent thickness can be had for the price of two bolts to hold the plywood shims:


A proper stationary thicknesser and a circular saw would be more precise and save a lot of time, but I don't want the expense and I don't have the room for those. Maybe for some bigger boat building project in the future. When planing do be careful not to grab a rotating planer from the wrong side:


I used a hand belt sander to make a pretend stationary one, works well enough:


A jigsaw is useful for cutting out gussets and the few curved frames.


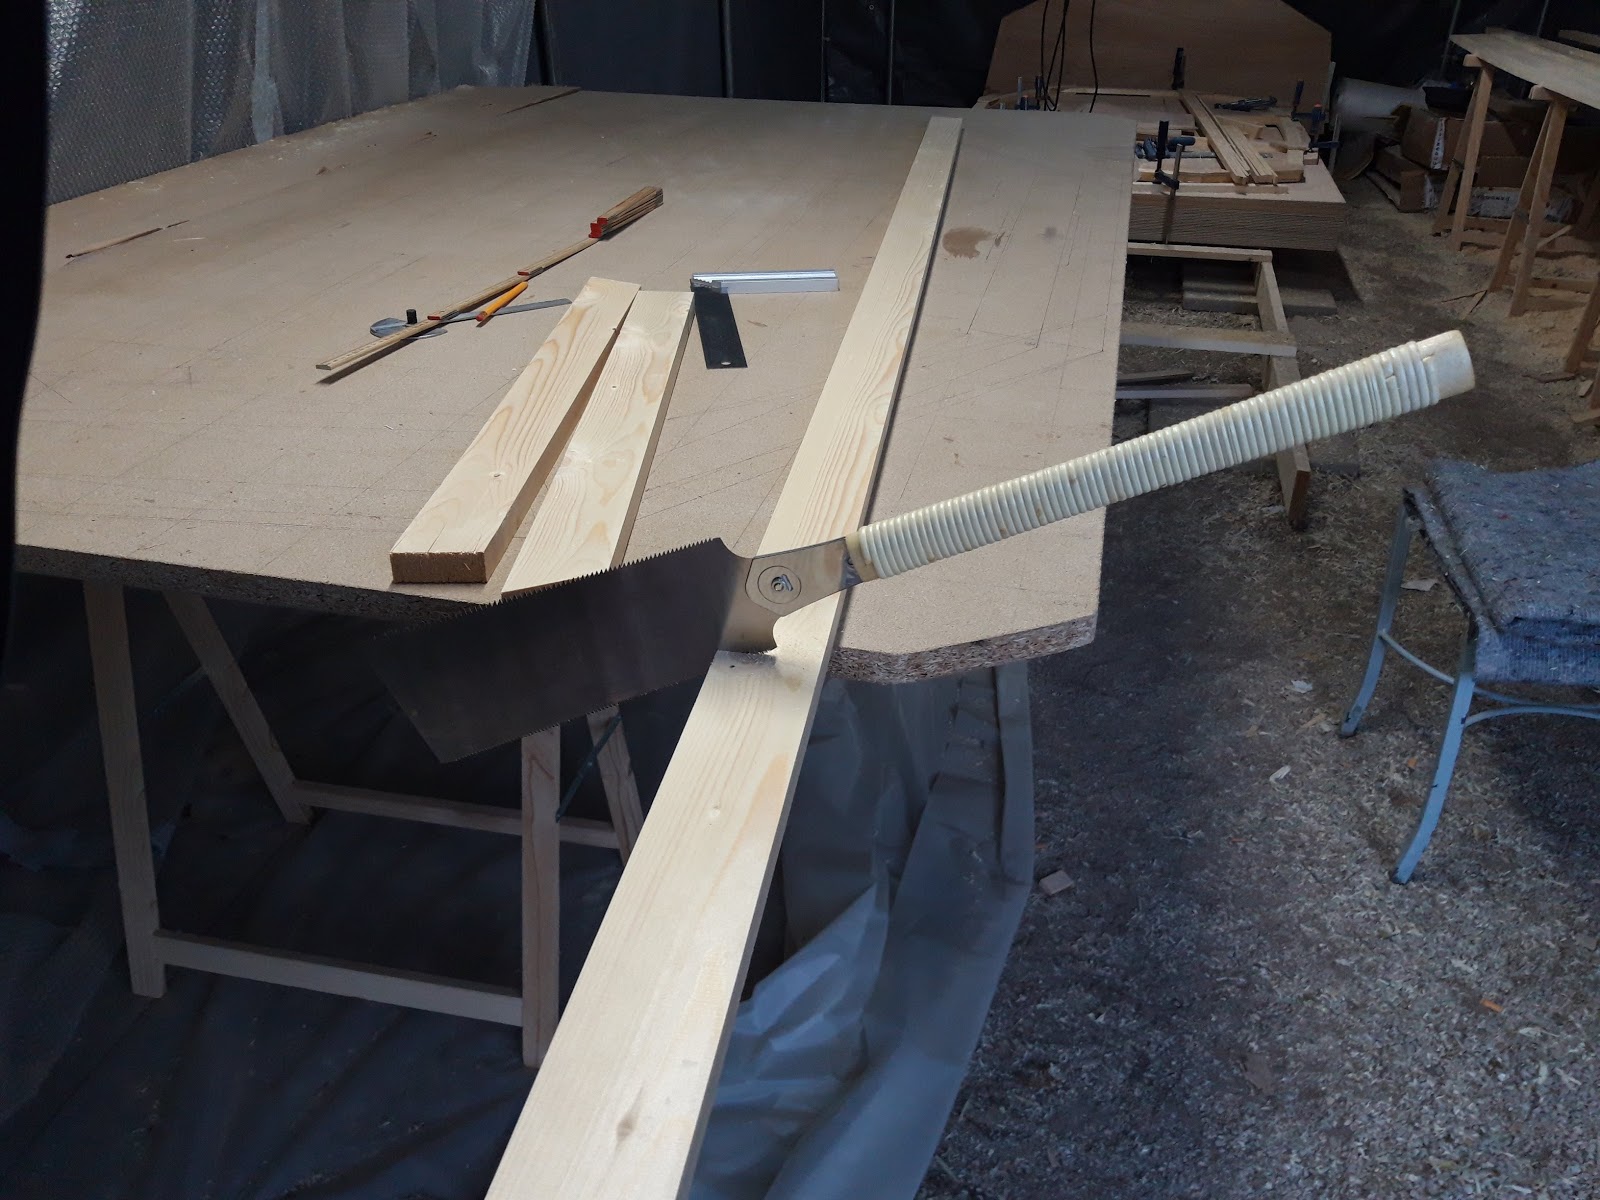
In addition a hand saw is useful, I went for a Japanese pull saw, works like a charm:


Otherwise a few items which already might be in a normal household toolbox: a cordless drill, some drillbits, pair of pliers, a small vise and some sharpening tools. Also some energy to go to the hardware store for whatever else is needed because you broke it or want to try a new toy :)
Ok, next posts will be more photos and less blah.
Cheers.

Starting the build: the transom

Since this is the first time I embark on a woodworking project this size I start at the easy end, the stern, where the transom and cockpit frames are stiffened by full plywood bulkheads - less chance for a screw up if my first glue-ups are not up to par. It seems there definitely is a learning curve involved in gluing wood with epoxy, even if you do your research beforehand and follow accepted best practice.
Anyway, the first thing to do is to prepare a lofting table surface, draw a grid and put the frame shapes on it. The table is made out of the largest MDF board I could find in the area: 250x122cm, a bit too small for the 2 largest frames, so it is augmented by a smaller piece of MDF on one side.

And the finished product:


I guess unless you have the design printed (which I think would have been a good idea, but I could not find an affordable way to have this done in my area) the only remark is: be precise when drawing. Any error here will propagate in probably the most unexpected ways :)

After that the procedure is well known and well documented on other people's blogs (including the Contructor's), cut the wood to the dimensions specified in the design and lay them on the lofting table:


Part 2 is cutting the gussets (from plywood) and preparing everything for gluing. The gussets here are only there on one side since is the transom and will have one side completely closed by a sheet of plywood. I've probably cut them a bit too large creating moisture traps, I will deal with that later.


The frame parts are fastened to the lofting table using screws - something a lot of people have been doing. It felt a bit uncomfortable to me, so for the other frames I used a different technique which will be visible later on.

After applying epoxy to all relevant surfaces the gussets are held down in place using stainless (A4 or 316 SS) wood screws.


Sometimes the simplest of tools are the best way to go to clean up excess epoxy (after is has cured that is)....


After preparing the other side the transom was finished at home where the glue could cure in slightly warmer conditions (it was already october or november). Since I was going to build through the winter as much as possible, a part of the living room was repurposed as frame storage where the glue could set and cure during the winter months. 


Now on to the next one...

Wednesday 1 May 2019

Let's build an ocean cruiser

It all starts with an itch. The one that one gets from sanding a fibreglass hull of one's current boat during endless repair cycles. Invariably the question comes up: "would it itch so badly if this were a wooden hull?". Well, here's an attempt at answering that question.
The cruiser i'm going to build is a 5 m (16'5'') plywood construction by the Polish designer Janusz Maderski called "Setka A".


FIVE meters of tiny goodness... people actually build these things to sail across the Atlantic in a quadrennial regatta called "Setka Atlantic Challenge" (there is also a group on facebook). All materials I have come across are, unfortunately, in Polish but there are enough pictures there to make the event seem real ;)
So let's start. First, a set of plans needs to be purchased from the Designer:

(you may notice the drawing is of the centerboard version which I'm going to build first, some time in the future I intend to convert it to a ballast keel version for the greater waters. More on that another time).
Next, the design needs to be checked for sanity (and hackability) in virtual space:


BTW, the amount of hacking can be kept to a minimum, the design is quite solid, I have only increased the height of the cabin by 2cm and made the transition from the cabin top to the foredeck a bit smoother (in retrospect it seems the Designer did the same thing in a similar design "Pasja 550").
Some hydrostatic calculations and playing with the weight distributions convinced me everything is quite optimal as-is in the design. Check.
Next, some room to build the whole thing. My attempts to find some space for rent in the area failed, so I decided to set up a big(-ish) tent in my back yard and worry about temperatures and humidity later :) I ordered a tent from a well known Danish manufacturer and a few weeks later a 250kg package arrived:


Together with my son, my better half and the help of some friends the setup took just a day or two:


Building a simple lofting table, pulling some electrical connections for the lights and power tools took another week or two producing a nice clean work space:


Of course that was the only time that space looked clean and roomy. Very quickly it turned into this:


Since I'm actually already quite far into the build I will recap the the process in detail in other posts and continue to report on the progress. Hopefully regularly and without too much delay since the first step has already been made with this post.
Until then.

The tent is back

Finally the workshop stands again. After a lot of busywork and other projects I finally managed (with some help) to prep a place for the ten...