Tuesday 27 April 2021

Daily update - more glass

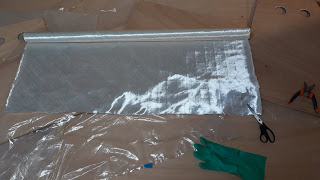
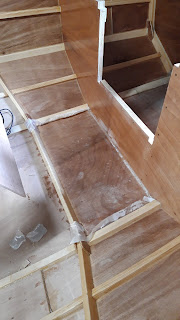
 Today, as announced yesterday I glassed the bottom of the future stowage below the companionway. Along with the floor the bottom futtock got glassed - I'm not sure I will be covering it under a floor board and if not - it will be prone to attack by the crew carelessly chucking equipment into the hold. This should help some.


Also: this was the first time I used peel ply. All in all saturating the glass went better than last time. As for peel ply - despite having the reputation of not being very conformant it gladly curved around compound corners - so I think it is not that dramatic as they say. I do think part of my problem is using the fast curing hardener in above 20degC - it just gels too fast, before I get the change to roll out all the air from the laminate. The nights are still cold so it is still the fast hardener. That is why I'm gonna wait with the larger job (glassing the hull until the night temperatures rise above 15C and use the slow hardener to give myself a fighting chance.


The white blotches are not actually there, at least to this degree - just some reflections on the dry spots ;)

Next up: more fascinating chores like finishing filleting the stringers and apply some more reinforcements: the butt blocks and maybe some stringers, especially the ones that split during steam bending.

All is not glamorous in boatbuilding.
Daily update - cockpit preparations continued

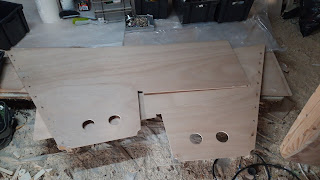
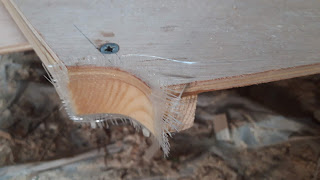
 The work is progressing slowly, but steadily. I finished preparing the cockpit sides, final screws (5x30mm) are in and set in epoxy, limber holes are cut and glassed (I really like glassing exposed end grain for some reason, makes me feel warm and safe ;) ):


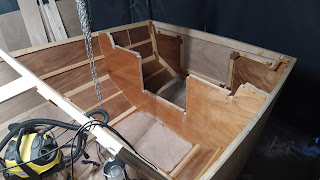
I'm varnishing the inside of the hull where it will be closed off by the cockpit:

I have 2-3 coats aft, only 1 coat so far forward of the bulkhead. I will glass the bottom of the "engine compartment" below the companionway as it will be used to store equipment (like tools or an anchor) and so it's going to be in extensive and careless use so something has to protect the bottom plywood.

I did run out of clear epoxy primer though (I'm using sealine 1:4 wood primer). No idea when the new batch will arrive, until then I'll switch to other things.

tot dan.

Friday 23 April 2021

Daily update - getting the cockpit ready for assembly

 Before closing off the cocpit I need to finish  a couple of things:
- seal everything that will end up in the closed space - although I plan to install some ventilation (possibly even active) I expect this space to be a bit damp, so everything needs to be well protected.
- reinforce the transom joint - especially the attachment point of the lower rudder gudgeon. 
 
The Designed suggests a small(-ish) stainless steel angle plate screwed to the bilge plating as reinforcement. I went with laminated glass. 7 layers of 300g/m2 biaxial makes for about 2.5mm of reinforcement over the entire width of the bilge. A large fillet with a radius of about 2cm takes care of spreading the loads and the actual gudgeon will be back plated with something stiff (maybe steel or a GRP plate) and covering the fillet. I think this will spread the loads nicely.

This was the first time I used this type of glass - went fine, but it was fiddly. I tried to see how many layers I could saturate simultaneously - 2 was the number for me, 3 was too much (with the 105/205 combo), optimal was just 1. Good to know. I will practice some more before glassing the hull on some more internal reinforcements.

As for the pictures: I was working solo, so not much pictures from the actual work. Cutting this stuff went fine using regular household scissors but for the larger jobs ahead I ordered an electric pair on ***zon.

 
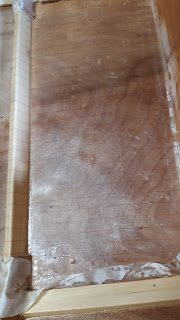
And here's what 7 layers of 300g biax looks like:


The white blotches are a result of me trying to go over too many layers of glass and not knowing what I'm doing in general. I'll improve eventually, hopefully before it is time to do the hull.

Let's see what tomorrow brings...


Thursday 22 April 2021

Heat box update

So. The winter was long and tumultuous, I did not get to work on the boat much. I did manage, however, to finish the heat box I was dreaming about while battling my assortment of cold resins. 

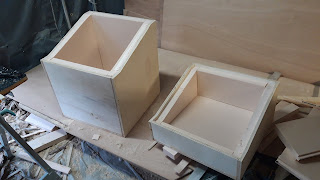
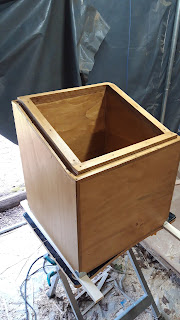
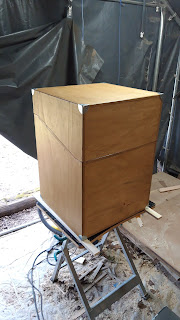
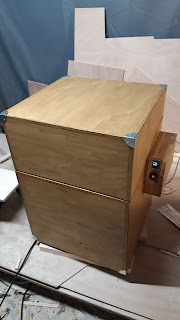
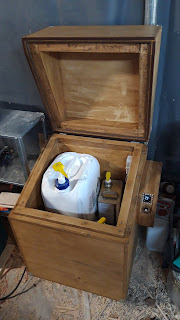
So I built an insulated box out of cheap(-ish) 15mm interior grade ply, 5cm foam insulation and 3mm plywood for interior walls.

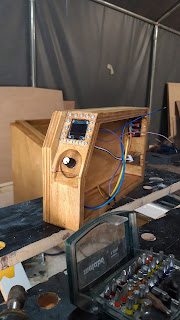
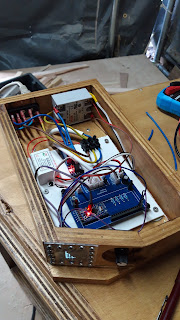
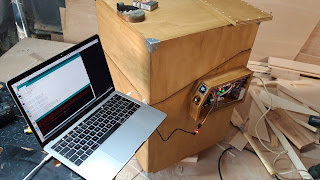
With the box finished some enclosure for the thermostat electronics needs to be built:


The electronics and software are way overbuilt (probably where it does not matter) and possibly lacking in areas that will prove to be important. But at least I can reasonably safely heat resin in plastic bottles as the heater temperature is one of the many settable parameters :) Truly nerdy business, but fun nonetheless.

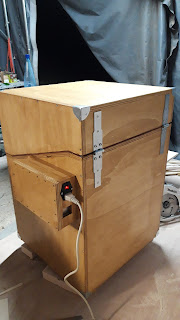
All together it looks like this:

Inside, a 230V, 200W silicone heating pad (from a 3d printer bed) - I did tear out the thermistor (no documentation) and replaced it with a DS18B20 temperature sensor.


... and after some last minute changes to tune everything up it's done.


Starting tomorrow I will get to work on the boat. I need to get it ready for transport within 2 months. Plan is to get the cockpit and deck done, glass the hull and paint it. A usable interior would be a nice bonus, but is non-critical in view of the constraints. I can finish after moving it to a new shop.

Updates will now be more frequent as I need to get crackin'. See ya.

The tent is back

Finally the workshop stands again. After a lot of busywork and other projects I finally managed (with some help) to prep a place for the ten...