Sunday 22 March 2020

Steam bending the longitudinals (under quarantine)

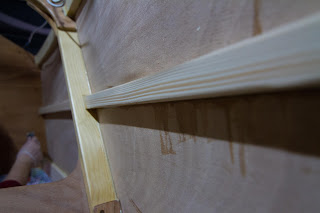
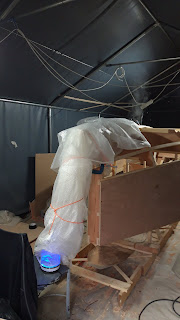
The lower chine stringers need to be bent and twisted in the bow section, quite dramatically. I couldn't make it work cold and dry so I decided to do some steam bending. Under the French quarantine law I cannot just go to the hardware store (which is closed btw., who knows for how long) so I had to improvise a steaming jig. I found some plastic foil that withstood my home cooked boiling test - same stuff I have covered the floor with), bubble wrap for insulation, some plastic bottles to prevent the foil from collapsing on the planks, a home water cooker and voila, a steaming contraption is born.


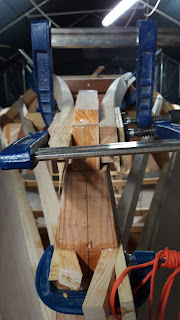
Cooking the wood for 2 hours did make it much more pliable. Technically it did let itself be forced to where I needed it to be:


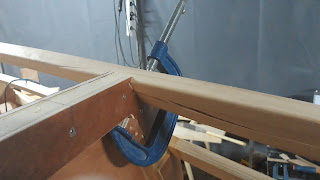
BUT: it did split and check. A little bit. I am not worried though, the fibers did not break, they just separated. I will glue the split, fill in the cracks and it will be good as new. In this section those stringers are not carrying any longitudinal loads, they are there mostly to hold the plating, the chine in that section is at a 45 deg angle (and more) so the stiffness is also generated by the plating geometry. So I'm good.


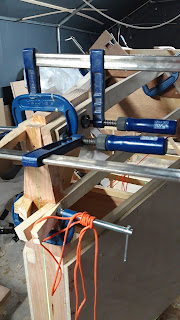
I'm letting the stringers rest clamped up before I shape and attach them.


It has also gotten cold again so I cannot comfortably apply epoxy, which is just as well. The longer the wood sits in the frame the easier it will be to glue it. I ordered some 205 fast hardener to be able to finish the hull in cold weather, it cures in temperatures down to 4 degC. It will take a few days to arrive so I'll probably start shaping the bevels on the upper chine and glue up the 3 last deck beams.
auf widersehen.

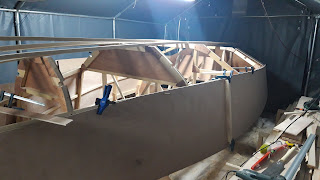
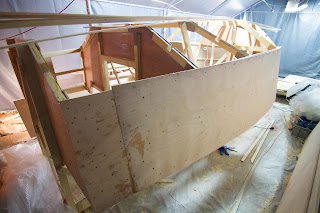
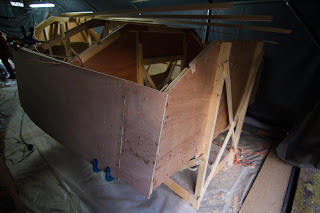
Side plating

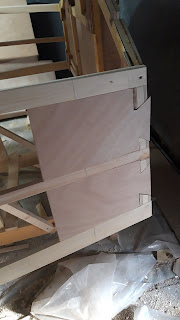
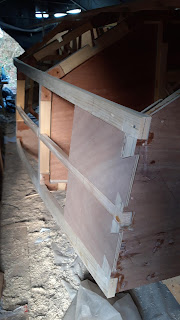
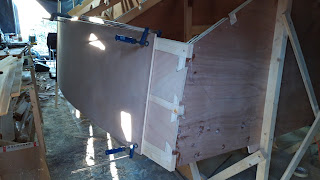
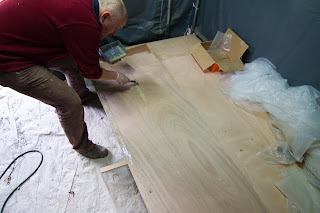
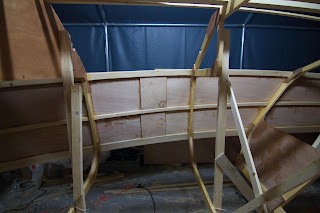
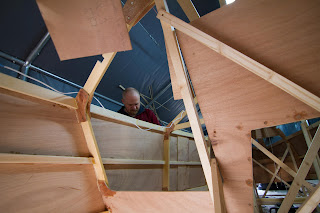
Once dry fitted the installation procedure is quite straightforward, although, as with everything in this build, quite time consuming. Fitting, surface prep, pre-wet with epoxy, apply thickened epoxy, join, screw in fasteners, install butt blocks, clean up squeeze out, admire result, wrap up in bubble wrap, turn on heating for the night to allow for a healthy epoxy cure.

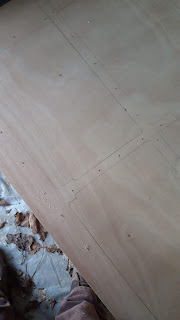
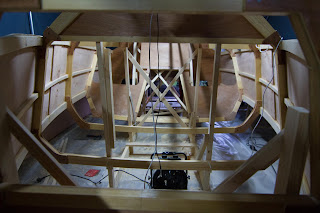
The sides are, lengthwise, almost covered by 2 sheets of plywood (your mileage may vary, plywood stocks are not all created equal), only a small ~30cm piece needs to be covered in addition. Since I join the sheets using butt blocks (also made of the same plywood) I decided to extend those all the way back to the stern and slot them in with dove tails. (Probably won't hurt, best case scenario the overall joint strength will improve).


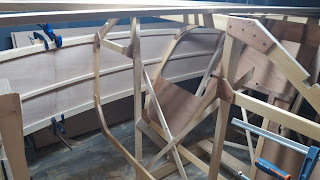
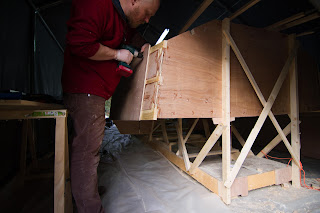
After everything fits, mark the locations of the frames and stringers, pre-drill holes, apply glue and start attaching the skin to the frame.


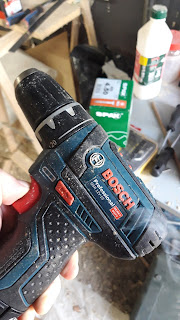
After a few hundred screws my drill started smoking and stopped working. Miraculously, however, it came back to life the next day.


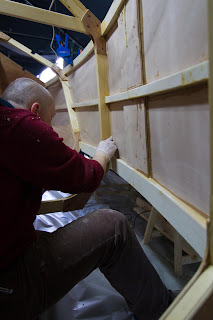
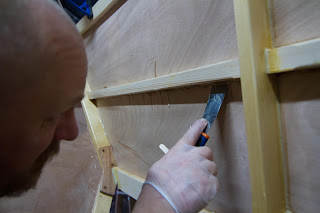
While the glue is still soft some cleanup is required, cleaning off fully cured epoxy is no fun.


I managed to make small fillets in most places, it is mostly about preventing moisture ingress rather than structural reinforcement, but I will probably re-fillet with a slightly larger radius to match the color of the wood anyway.


Many hours later the hull is wrapped in bubble wrap, a heater is placed inside and the curing can go on despite temperatures at night dropping to zero centigrade.

Next step is the bottom longitudinals and the rest of the plating. To be reported on soon.

Wednesday 18 March 2020

Materials for glassing the hull

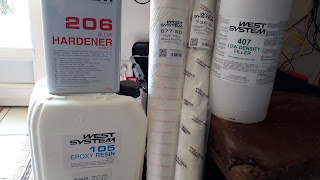
Today a big order arrived containing the materials needed for reinforcing the hull: biaxial glass cloth, resin and fairing compound filler. After much research and deliberation I went with an all West System solution, mostly due to the ample documentation and their reputation. They are maybe a bit more pricey that regular off the shelf stuff, but I could order everything in one go, everything came nicely packaged and, quite important: their resin is easy to use: flows/mixes nicely and comes with metering pumps and everything.
The glass came factory prepackaged in 5m rolls, not folded as often happened when I was buying glass from other suppliers. The plans call for at least 200g/m^2 woven cloth, I went with 300g biaxial, the laminate should be about the same weight due to better glass to resin ratio and be (a lot) stronger. Does the additional strength matter? Probably not, as the design with 200g woven has proven itself and is plenty strong. But the biaxial might be a bit smoother and therefore easier to fair - big question since I never used biax before, probably just wanted to try something new :)


As for actually glassing the hull: I'm not ready yet, working on plating it right now, I'll describe the whole process of plating in a single post once it is done, which should be soon.
until then.

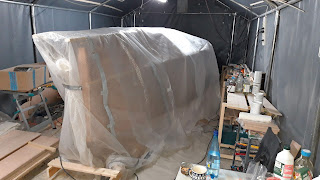
The tent is back

Finally the workshop stands again. After a lot of busywork and other projects I finally managed (with some help) to prep a place for the ten...