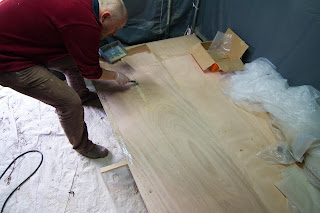
Once dry fitted the installation procedure is quite straightforward, although, as with everything in this build, quite time consuming. Fitting, surface prep, pre-wet with epoxy, apply thickened epoxy, join, screw in fasteners, install butt blocks, clean up squeeze out, admire result, wrap up in bubble wrap, turn on heating for the night to allow for a healthy epoxy cure.
The sides are, lengthwise, almost covered by 2 sheets of plywood (your mileage may vary, plywood stocks are not all created equal), only a small ~30cm piece needs to be covered in addition. Since I join the sheets using butt blocks (also made of the same plywood) I decided to extend those all the way back to the stern and slot them in with dove tails. (Probably won't hurt, best case scenario the overall joint strength will improve).


After everything fits, mark the locations of the frames and stringers, pre-drill holes, apply glue and start attaching the skin to the frame.
After a few hundred screws my drill started smoking and stopped working. Miraculously, however, it came back to life the next day.
While the glue is still soft some cleanup is required, cleaning off fully cured epoxy is no fun.
I managed to make small fillets in most places, it is mostly about preventing moisture ingress rather than structural reinforcement, but I will probably re-fillet with a slightly larger radius to match the color of the wood anyway.
Many hours later the hull is wrapped in bubble wrap, a heater is placed inside and the curing can go on despite temperatures at night dropping to zero centigrade.


No comments:
Post a Comment