Tuesday, 11 May 2021

First glimpse of the cabin top/deck

 Today I did some cleanup of the cockpit but I'm leaving it alone to let the resin fully cure before I start meddling with it. Most of all I fitted and glued the port side cabin top longitudinal. The front end looks a bit like it is glued in the wrong place, but there is a thought behind that. I'm hoping it is a correct one :)

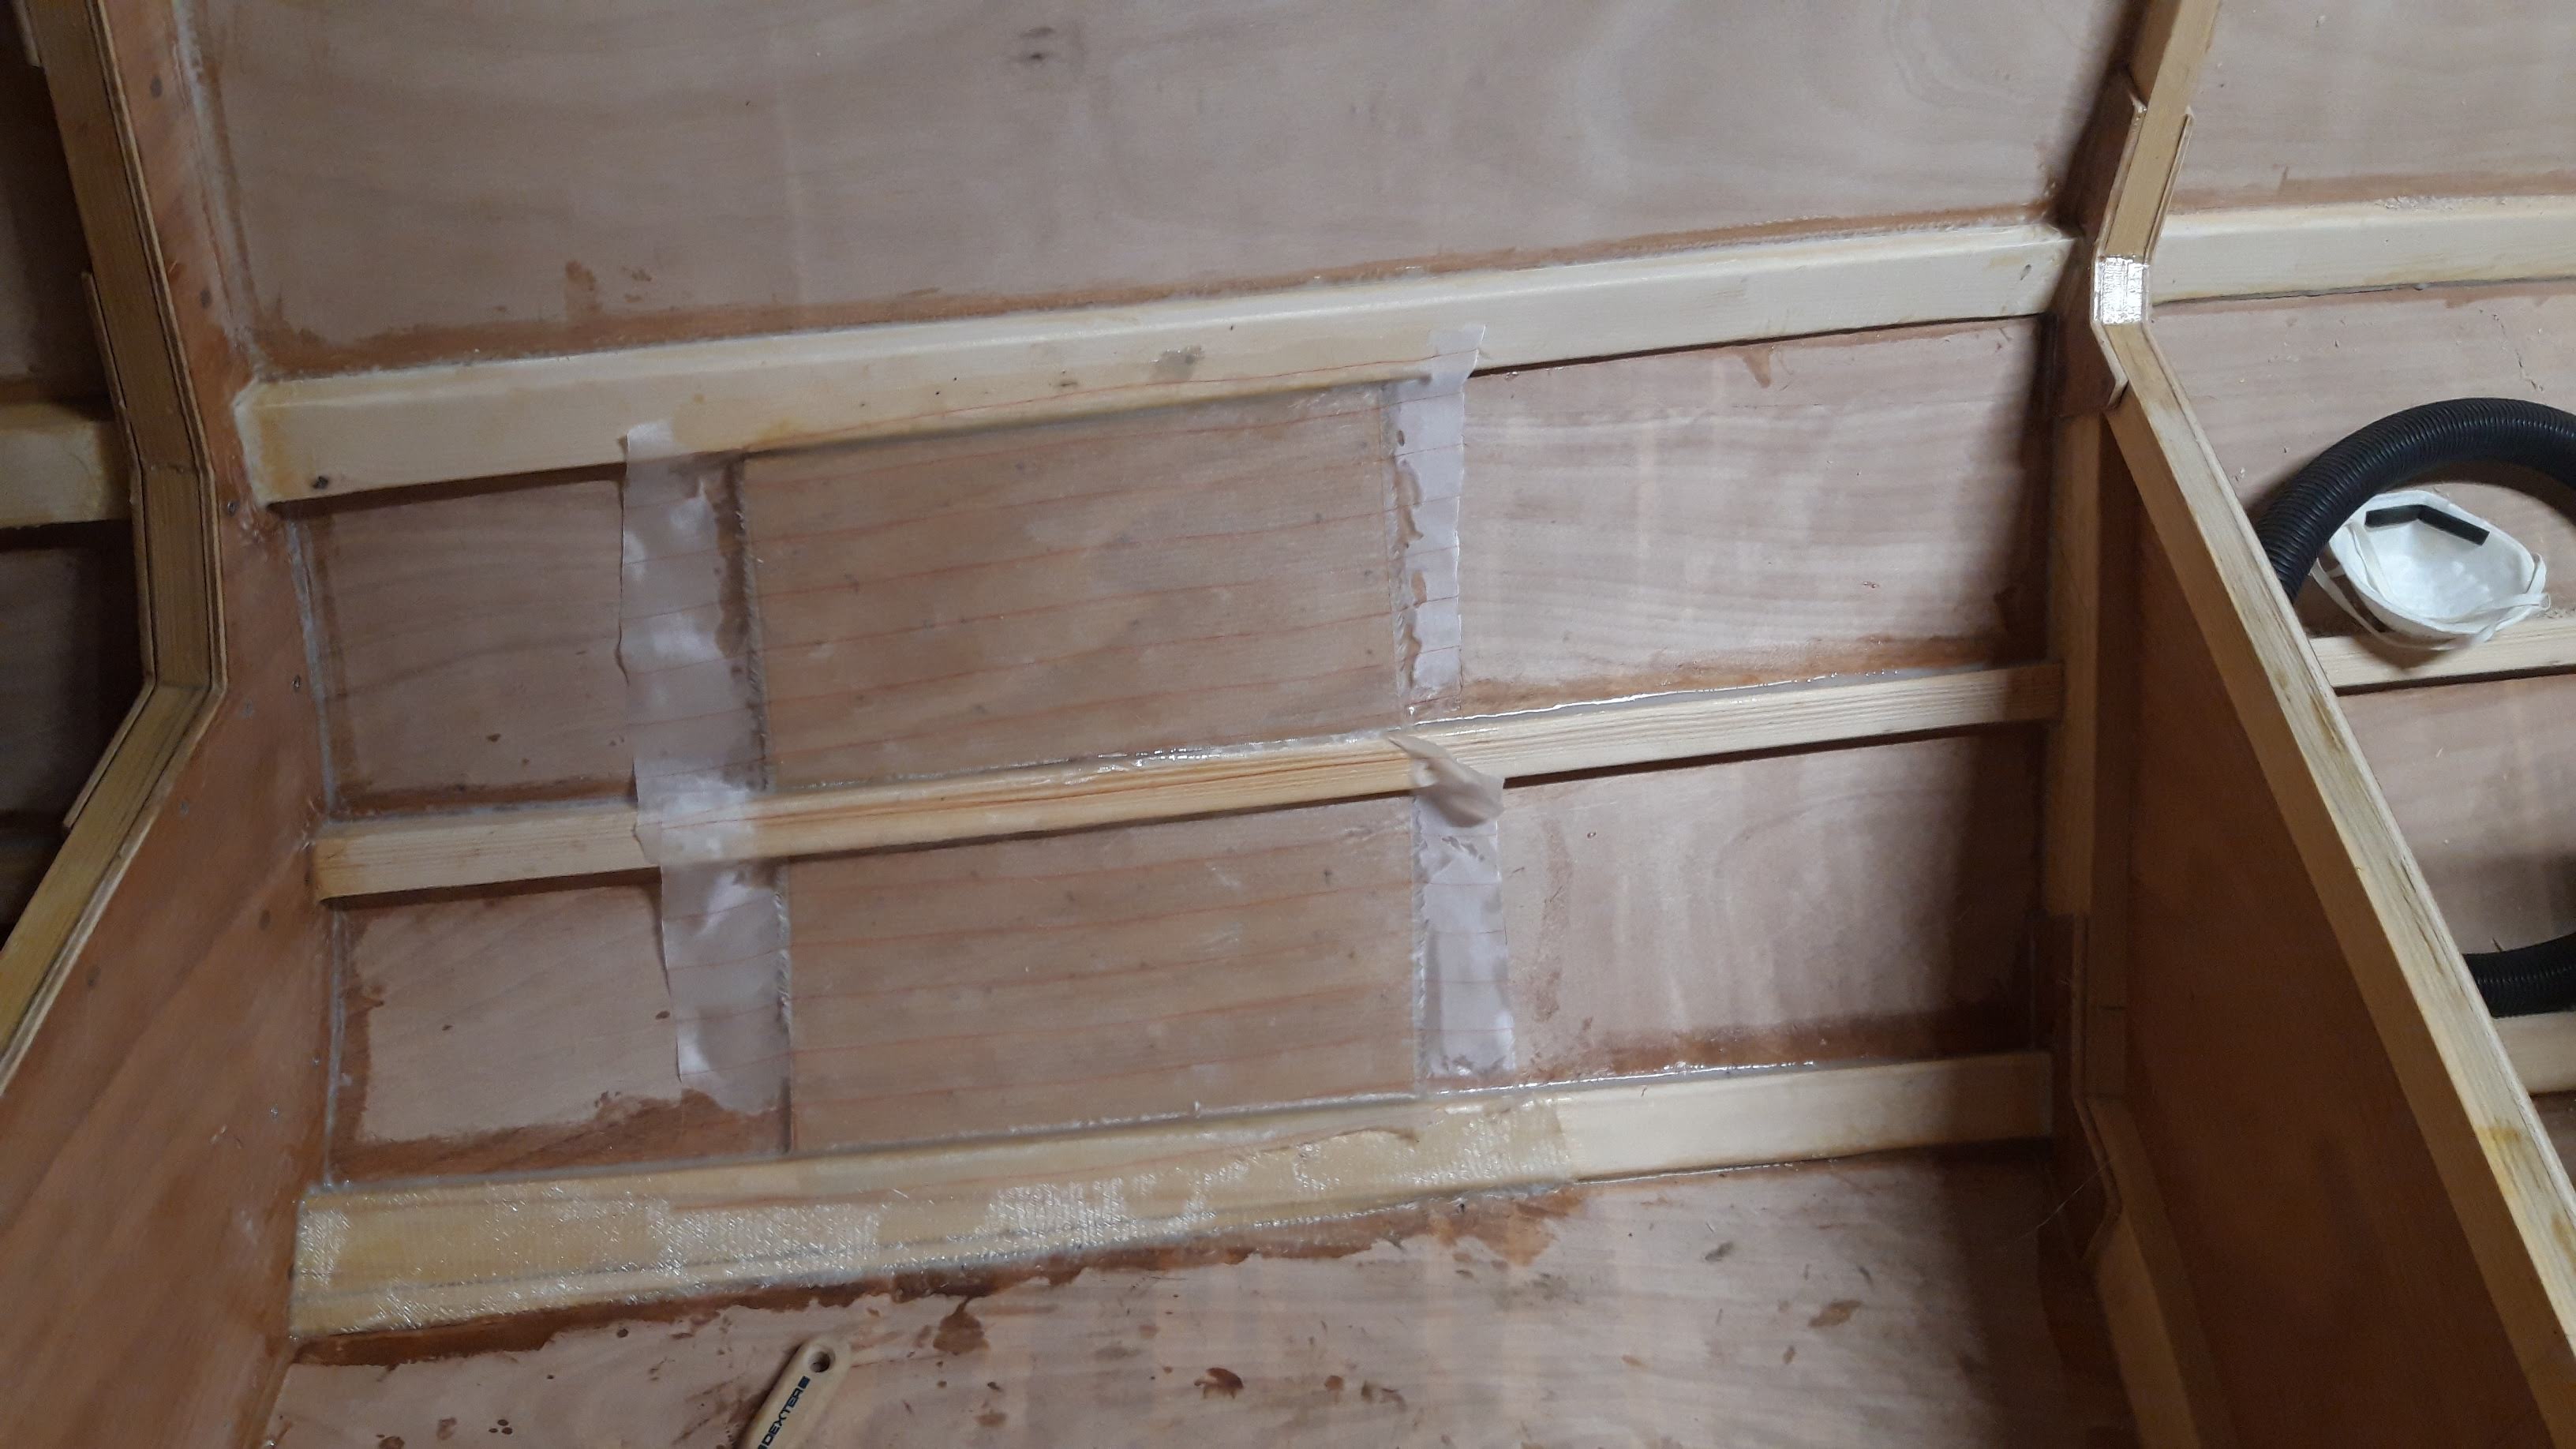
The nasty narrow corner where the timber meets the sheer I filled with resin to make cleaning possible in the future. The strips of plastic help keep the goo in shape and make sure I don't have to sand too much. Also no blush is forming underneath.

Nice fit with the shimmed futtock:

A knot hole filled with goop:


... and then I ran out of long timbers. So I made one by scarfing (1:12 ratio) two short ones together :) I think that will be the last one I have to scarf.

To be installed tomorrow.


Cockpit coaming

After many hours or work the cockpit coaming is fitted and glued in. I'm starting to run out of excuses why every job seems to take forever - maybe I'm just a slow worker, maybe I'm overdoing the procedures, I don't know. The large amount of weirdly shaped corners and crazy compound angles did not help either.

Anyway, here are some pictures:


I will leave the horizontal surfaces open for the time being as I need to flip the hull for glassing and I don't need the additional weight. That, however, has to wait for the night temperatures to reach 15degC as I will be using the slow 206 hardener for that. I'll focus on the interior until then.


Saturday, 8 May 2021

Fixing early mistakes and other business

I made a couple of mistakes constructing the frames - I made the companionway too low for a good smooth flow of the deck profile, it's just a centimeter or so, but I'd know. Fixed by laminating a strip of wood on top of the whole thing:


Another screw up, or rather a failed experiment is the angle of the cabin side just above the sheer at frame D. I was hoping it would be possible to bend the side a little bit more than in the design. Not sure why. Now it would be possible, but the stringer (or rather a deck joist (?) ) would have to be twisted just outside of the range I'm comfortable with - I did have some trouble with that in the past. So. I decided to just fix it by lamination. Just like the other thing, I'll use slightly longer fasteners to compensate.


In other news: the forepeak bottom is fitted and glued in:


It is screwed to the stringers but only a fillet is keeping it up at the stem, should be good enough. There will be no hatch, it will be accessible from the inside only.

I cut the cockpit floor out of 8mm ply, as specified in the docs:

It feels, surprisingly, strong enough, even just like that, not attached to anything. It does flex a bit too much for my liking though - I will add some additional supports. It will gain a lot more stiffness in any case just from being attached and glassed over, but I like my floors completely rigid.

A bunch of other smallish finishing jobs also got done today, no pictures though. Tomorrow I'll tackle the rest of the cocpit.

Wednesday, 5 May 2021

Daily update: cockpit sides affixed

 After many hours of fitting, sanding and cleaning the basic structure of the cockpit is all glued in. Since it will be abused most of all the areas on the boat the gluing had to be done to the highest standards - all the parts are proper structural. That means good fit, degreasing, sanding, pre-wetting with unthickened resin and only then finally gluing with the thickened mix (105/205/HDF). Also fillets are important here as the sides rest directly on the bilge plating (on the part I glassed a few days ago). But is is done. I'll add more detailed pictures once the rest of it is all ready, for now just two snaps:


A milestone of sorts is reached: the last floppy part of the boat, the companionway, became completely rigid.

yay!

Tuesday, 4 May 2021

Daily update: reinforcing the weak spots

 Today a lot of tedious work. Reinforcing the spots I felt were weaker than they could be: the bilge stringers that split on me during steam bending and some butt blocks that I made out of 8mm ply instead of 10mm. All those got 2 layers of 300g biaxial glass.


As always, most of the time went into prep: the oh so glorious sanding and cleanup. The end result looks almost exactly the same as what I started with though... Few more days of those and hopefully it will be on to greater things.


New batch of varnish arrived

Finally I received the new batch of varnish I was waiting for. After much research I went with a good old Dutch brand. A sea faring nation for hundreds of years cannot be mistaken when it comes to wooden boat maintenance... Also - good experiences all around by people who use this stuff. I went with a single component PU stuff for it's ease of application and maintenance. For sealing the wood completely in places where it makes sense I will be using unthickened clear resin.


I officially ran out of excuses to sit on my hands. Time to get cracking.

Tuesday, 27 April 2021

Daily update - more glass

 Today, as announced yesterday I glassed the bottom of the future stowage below the companionway. Along with the floor the bottom futtock got glassed - I'm not sure I will be covering it under a floor board and if not - it will be prone to attack by the crew carelessly chucking equipment into the hold. This should help some.


Also: this was the first time I used peel ply. All in all saturating the glass went better than last time. As for peel ply - despite having the reputation of not being very conformant it gladly curved around compound corners - so I think it is not that dramatic as they say. I do think part of my problem is using the fast curing hardener in above 20degC - it just gels too fast, before I get the change to roll out all the air from the laminate. The nights are still cold so it is still the fast hardener. That is why I'm gonna wait with the larger job (glassing the hull until the night temperatures rise above 15C and use the slow hardener to give myself a fighting chance.


The white blotches are not actually there, at least to this degree - just some reflections on the dry spots ;)

Next up: more fascinating chores like finishing filleting the stringers and apply some more reinforcements: the butt blocks and maybe some stringers, especially the ones that split during steam bending.

All is not glamorous in boatbuilding.

The tent is back

Finally the workshop stands again. After a lot of busywork and other projects I finally managed (with some help) to prep a place for the ten...